Measurements and fit
How to take body measurements for sewing
A calm, practical guide to taking consistent body measurements for a sewing enquiry, pattern or fitting discussion.
Before you begin
- Measure your body as it is; do not add seam allowance or extra room.
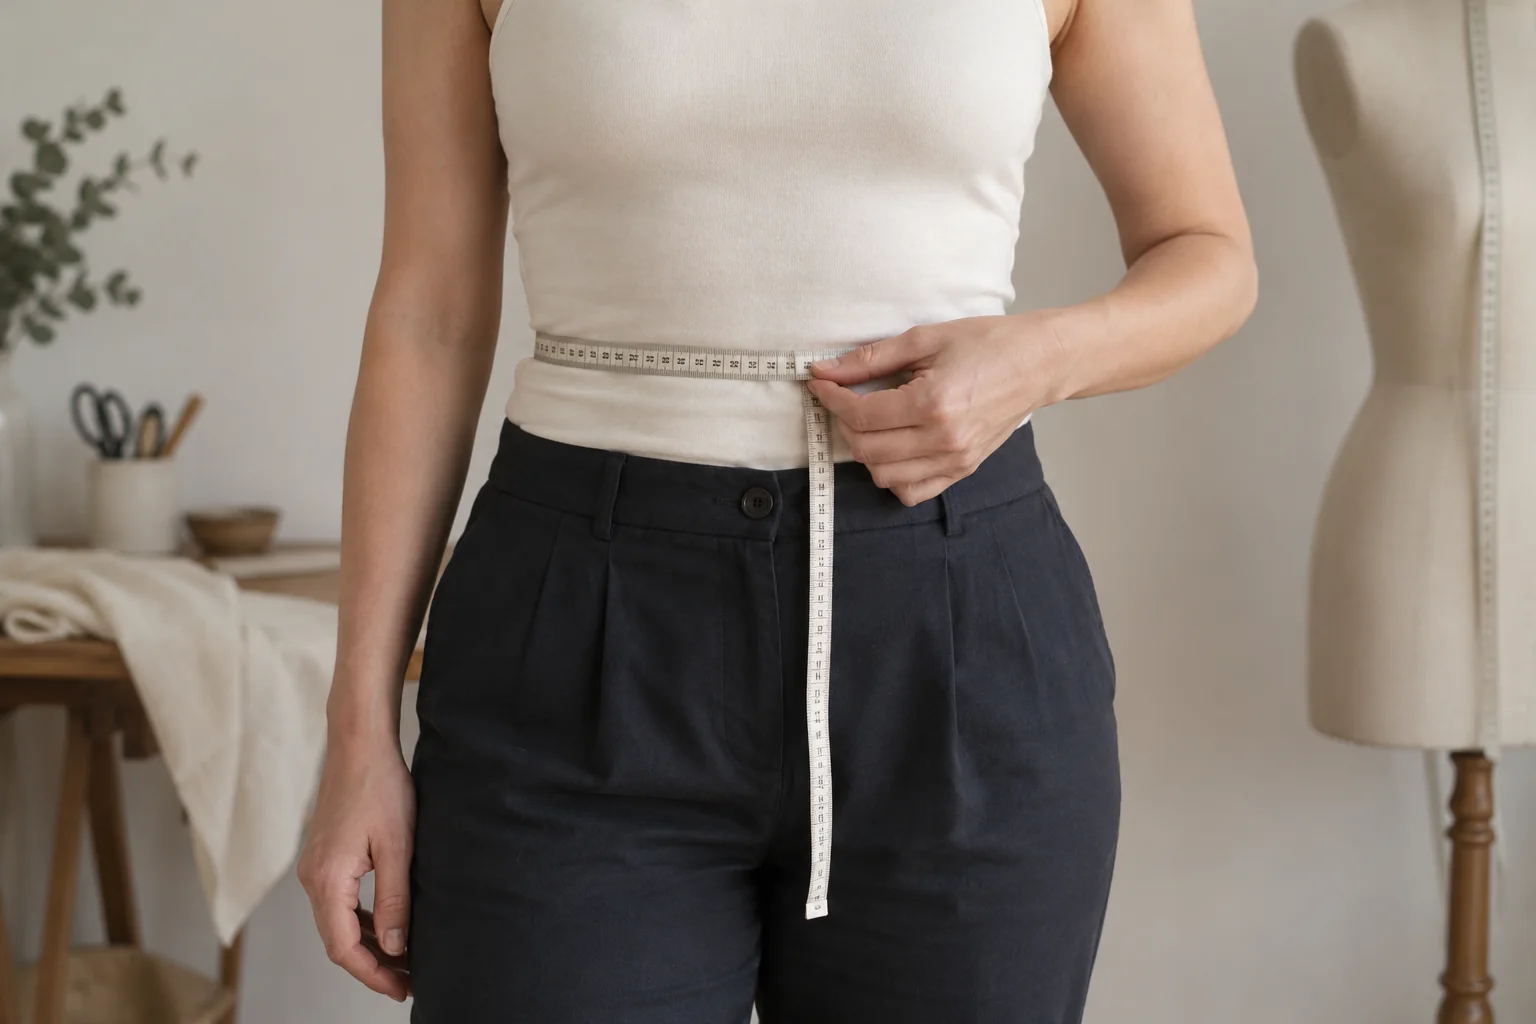
- Keep circumference measurements level, without pulling the tape tight.
- Record the measuring point, centimetres and date, then repeat to check.
Clear measurements give a dressmaker useful starting information, especially when discussing a made-to-order garment. They do not guarantee fit on their own: posture, body shape, fabric, garment design and the amount of wearing ease all affect the result.
Use this guide only for measurements Kymmy has asked you to provide. A fitting may still be needed before specifications or work can be confirmed.
Gather a few simple tools
You will need:
- a flexible dressmaker’s tape measure with clear centimetre markings;
- close-fitting, comfortable clothing or the undergarments you expect to wear with the finished item;
- a narrow piece of elastic or ribbon to mark the natural waist;
- a mirror; and
- somewhere to record each measurement immediately.
A trusted helper can make back, shoulder and arm measurements easier. If no helper is available, tell Kymmy which measurements you took yourself.
Set up consistently
Stand naturally with your weight distributed evenly. Breathe normally and avoid pulling in your stomach, lifting your chest or changing your usual posture.
Keep the tape flat against the body without twisting it. It should be comfortably close, not pulled tight enough to indent the skin. Check that horizontal measurements remain level by using a mirror or asking your helper to look from the side and back.
Record body measurements as measured. Do not add your own seam allowance or extra centimetres for comfort unless asked. Wearing ease is a garment-design decision and is separate from the body measurement.
Find the natural waist
The natural waist is generally the point where your torso creases when you bend gently to one side. It may not match the waistband position of your usual clothing.
Tie the elastic or ribbon around this point and leave it in place while taking vertical measurements. It provides a consistent reference line.
Core circumference measurements
Bust or chest
Measure around the fullest part of the bust or chest, keeping the tape level across the back. Keep your arms relaxed once the tape is in position.
If a design is fitted through the upper torso, Kymmy may also ask for an upper-bust measurement. Take this around the torso above the fullest part of the bust and under the arms.
Waist
Measure around the marked natural waist while breathing normally. Do not use a trouser waistband measurement unless that is specifically requested.
Full hip
Measure around the fullest part of the hips and seat. This point may be higher or lower than expected, so move the tape slightly until you find the largest level circumference.
Kymmy may also ask for the vertical distance from the natural waist to the full-hip line. Keep the waist ribbon in place and measure straight down at the side.
Upper-body measurements
Shoulder width
Measure across the back from the outer edge of one shoulder to the other, following the natural shoulder line. This can be difficult to take alone.
Back waist length
Measure from the prominent bone at the base of the neck down the centre back to the natural-waist ribbon. Stand normally rather than forcing the shoulders backwards.
Sleeve length
Bend the arm slightly. Measure from the shoulder point, over the outside of the elbow and down to the intended sleeve end. State whether the measurement is for a short, three-quarter or full-length sleeve.
Upper arm
Measure around the fullest part of the upper arm with the arm relaxed. Do not flex the muscle or pull the tape tight.
Lower-body measurements
Outside leg
Measure from the natural waist or agreed waistband position down the side of the body to the intended hem. Note whether the item will be worn with particular shoes.
Inside leg
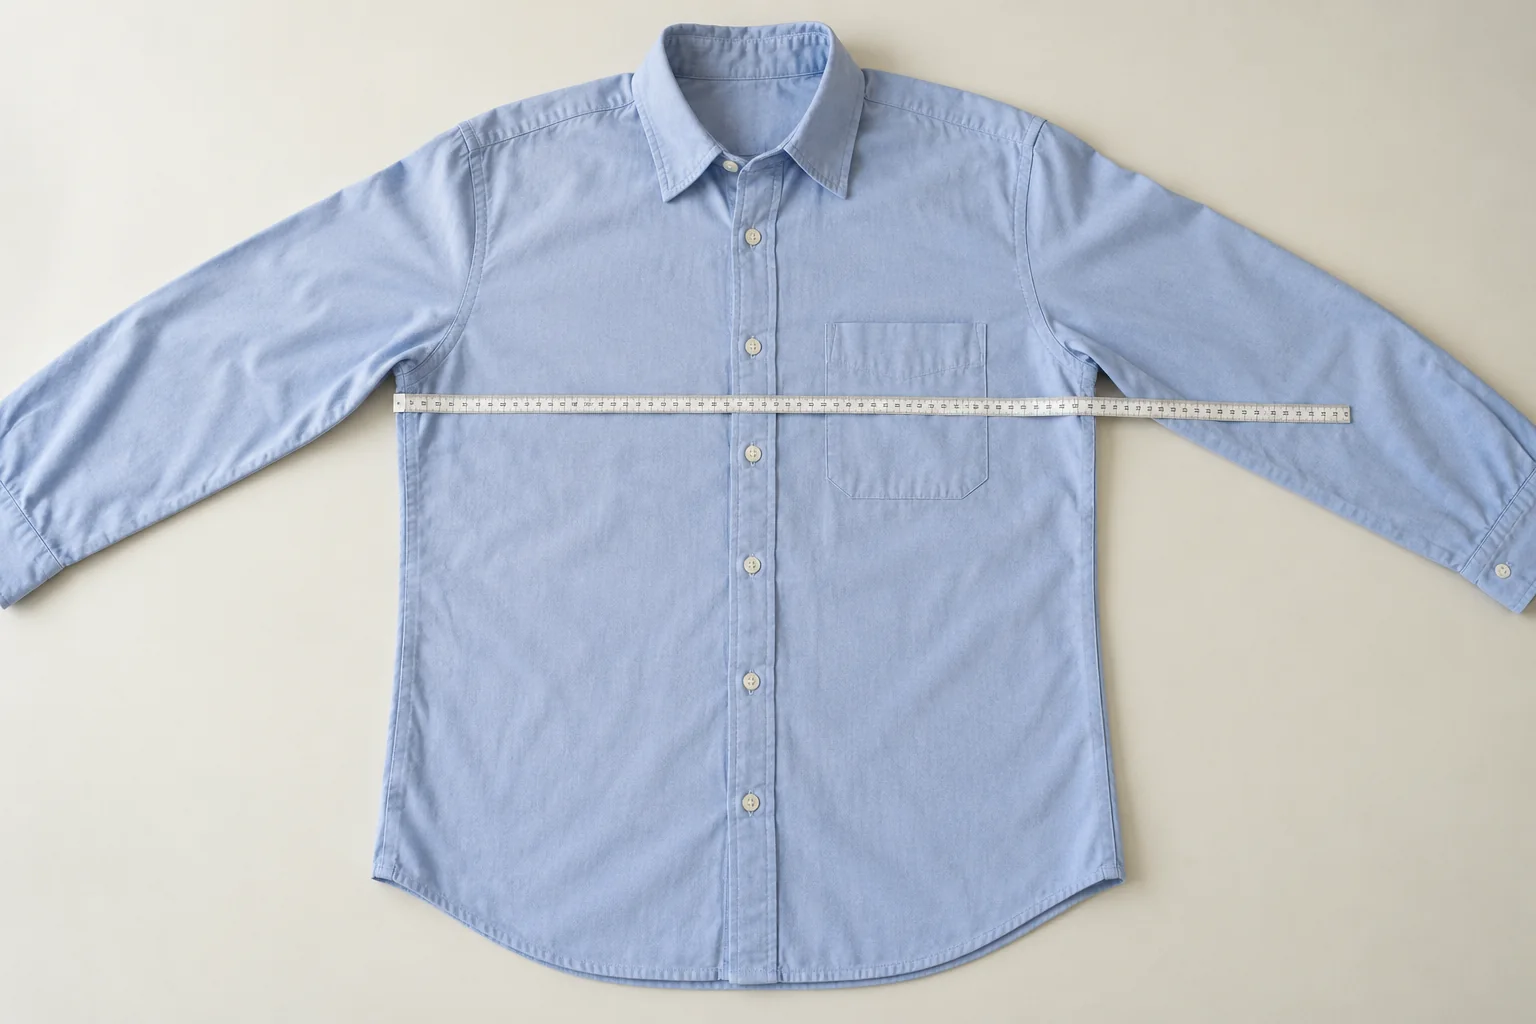
Measure from the crotch point down the inside leg to the intended trouser hem. A well-fitting pair of similar trousers may be easier to measure accurately; see how to measure an existing garment.
Thigh
Measure around the fullest part of the upper thigh, keeping the tape level and the leg relaxed.
Rise or crotch depth
Do not guess this measurement. Different sewing methods use different rise measurements, and it can be awkward to take accurately. Wait for Kymmy’s instructions if it is needed.
Check your work
Take every important measurement twice. If the results differ, reset the tape and try again rather than averaging them automatically.
Add a short note with:
- the date the measurements were taken;
- what you wore while measuring;
- whether someone helped;
- whether any point was difficult to identify; and
- any mobility, comfort or fit preference relevant to the proposed garment.
Bodies can be asymmetrical, and measurements can change. Record what is present without trying to make both sides match. Kymmy can decide whether separate left and right measurements or an in-person fitting would be helpful.
Body measurements and garment measurements are different
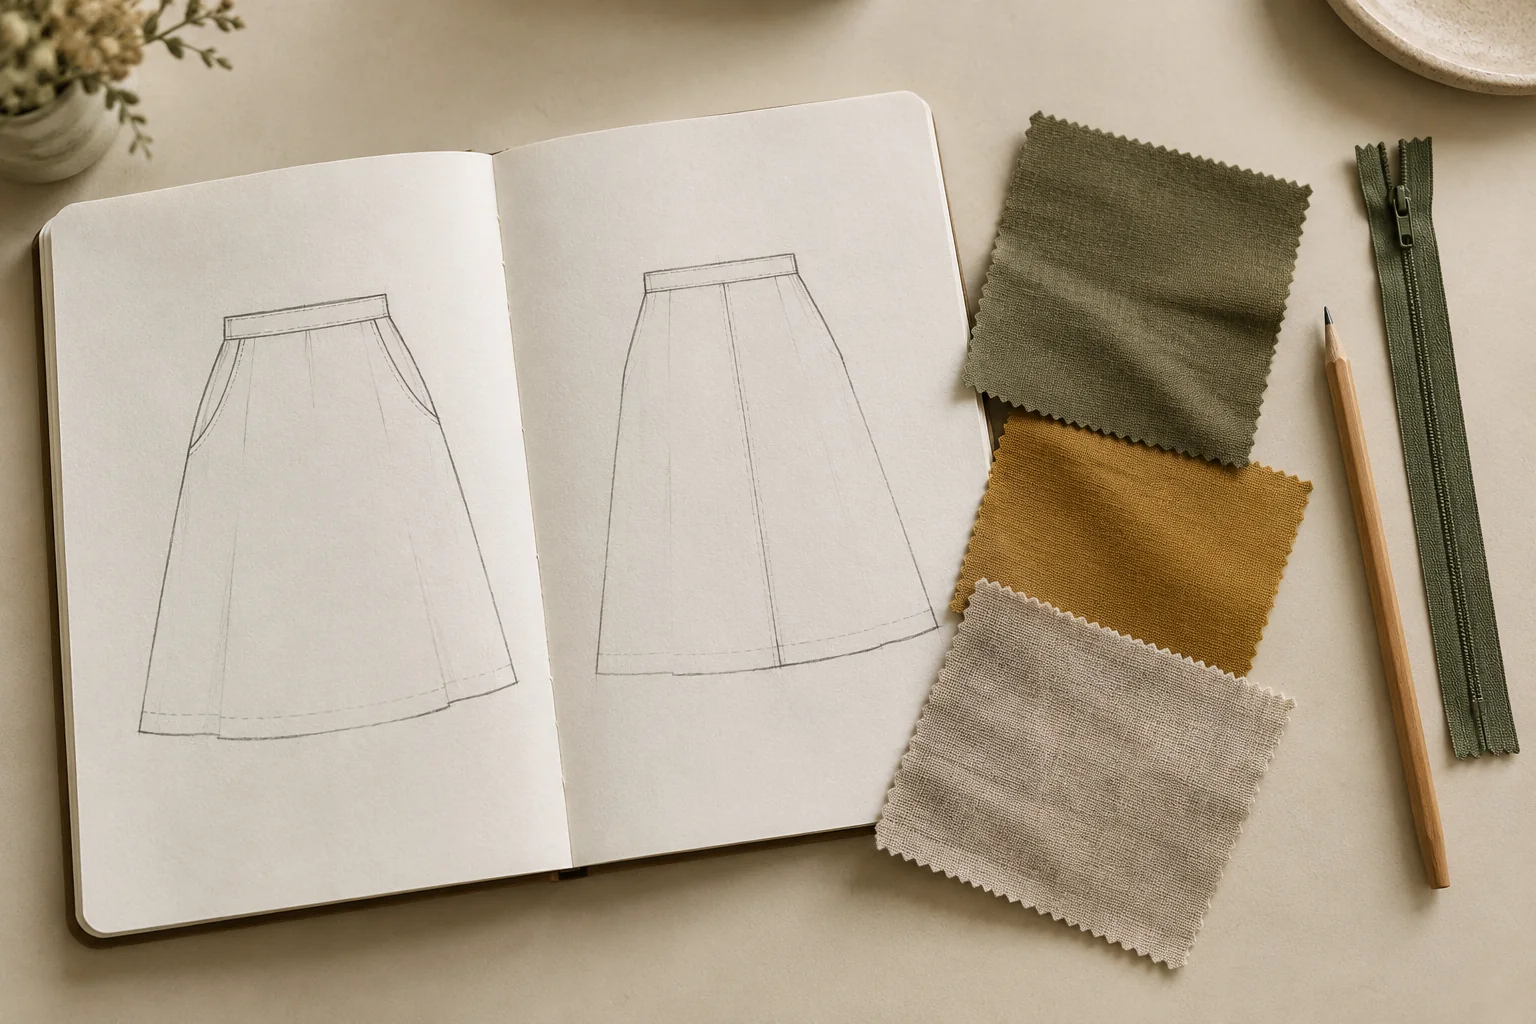
A body waist measurement is not the same as the waistband measurement of a finished skirt. A garment may need extra room for movement, layering, fastening and its intended shape. Stretch and non-stretch fabrics also behave differently.
For ready-made one-off pieces, compare the listing with a similar item that fits you well rather than comparing body and garment numbers without context.
A simple example: a body bust of 96 cm and a finished woven garment bust of 104 cm have 8 cm of total ease. That is an explanation of the difference, not a recommended allowance: the right amount depends on the design, fabric and intended fit. Some stretch garments use negative ease and are smaller than the body at rest.
Seam allowance is different again: it is the fabric between a stitching line and the cut edge. It is used to join the garment and is not added to your recorded body measurements.
Share only what is needed
Measurements are personal information. Provide only the measurements requested for the enquiry, and do not include medical information or photographs of your body unless they are necessary and you are comfortable doing so.
When you are ready, include the relevant measurements in a clear made-to-order sewing brief. Submission begins a discussion; it does not confirm an order, quote or final fit.
Further reading
The Simplicity measurement guide explains the core measuring points. New Mexico State University Extension explains why ease and a fitting still matter when working from measurements.